Quickstart
Welcome to the quickstart guide for using Avatar! This tutorial will help you get started with both the Python client and the Web client. Choose the section that fits your needs below:
Python Client
The Python Client allows you to interact with the Octopize API directly within your Python environment. Here's how to quickly get started with Avatarization on a single table:
Installation
To get started, you’ll need an Octopize account. Once your credentials are set up, you can use the Python client with any IDE of your choice (e.g., VS Code, PyCharm, Jupyter) or simply run it from the command line.
You can install the package from PyPI. If you are migrating from the Github Releases to PyPI (prior to 0.7.3, May 7th 2024), make sure to uninstall the old package first.
pip uninstall avatars
Then, install the package from PyPI. Choose the latest version at https://pypi.org/project/octopize.avatar/
➤ With pip:
pip install octopize.avatar
➤ With poetry:
poetry add octopize.avatar
Step 1: Setup and Authentication
Start by importing the necessary libraries and setting up your authentication using an API key.
import os
from avatars.manager import Manager

# Initialize the Manager with an API key (the base URL will be handled automatically by default)
manager = Manager(api_key=os.environ.get("AVATAR_API_KEY"))
Step 2: Uploading Your Data
Once authenticated, you can create a runner to upload your data table to the server. It is now recommended to assign a unique name (set_name) to your project. In this example, we'll use a CSV file wbcd.csv.
from avatars.models import ReportLanguage

# Initialize the runner
runner = manager.create_runner(set_name="test_wbcd", report_language=ReportLanguage.EN)

# Add the table to the runner
runner.add_table("wbcd", "fixtures/wbcd.csv")
The wbcd table is now ready for anonymization.
Step 3: Avatarization Parameters and Execution
Next, define the avatarization parameters and run the process. Parameters can be set automatically or manually.
# Set anonymization parameters automatically and display them
runner.advise_parameters()
runner.print_parameters()

# OR Set anonymization parameters manually
runner.set_parameters("wbcd", k=10)  # The k value allows you to adjust the privacy level

# Run the anonymization pipeline
runner.run()

# Get all results after running the anonymization
results = runner.get_all_results()
Here, k=10 is the number of nearest neighbors used in the neighbor-based method. You can adjust this value based on your desired privacy level.
To learn more about anonymization parameters, please refer here.
Step 4: Retrieve Avatarized Data
Once the anonymization is complete, you can retrieve and inspect the avatarized data:
# Print a preview of the avatarized data
print("Avatar data:")
print(runner.shuffled("wbcd").head())
Step 5: Retrieve Privacy and Signal Metrics
Octopize provides privacy and signal metrics to evaluate the quality of the synthetic data produced:
# Print privacy metrics
for key, value in runner.privacy_metrics("wbcd").items():
    print(f"{key}: {value}")

# Print signal metrics
for key, value in runner.signal_metrics("wbcd").items():
    print(f"{key}: {value}")
Step 6: Download Avatarization Report
Once you have found the optimal set of parameters, you can download two reports. A technical report that compiles privacy and utility metrics as well as an impact analysis report.
from avatar_yaml.models.parameters import ReportType

# Download the residual re-identification risk assessment report
runner.download_report('my_report.pdf')

# Download the impact analysis report
runner.download_report("my_report_pia.docx", report_type=ReportType.PIA)
Once you've followed these steps, you're ready to explore further and fine-tune your anonymization process!
For a deeper, step-by-step walkthrough, please refer to our Step-by-Step Guide.
Web client
The Web Client offers a simpler, button-click interface for users who prefer to interact with Octopize through a graphical interface. You can follow the same anonymization steps without writing any code.
Step 1 — Log in to the Web Platform
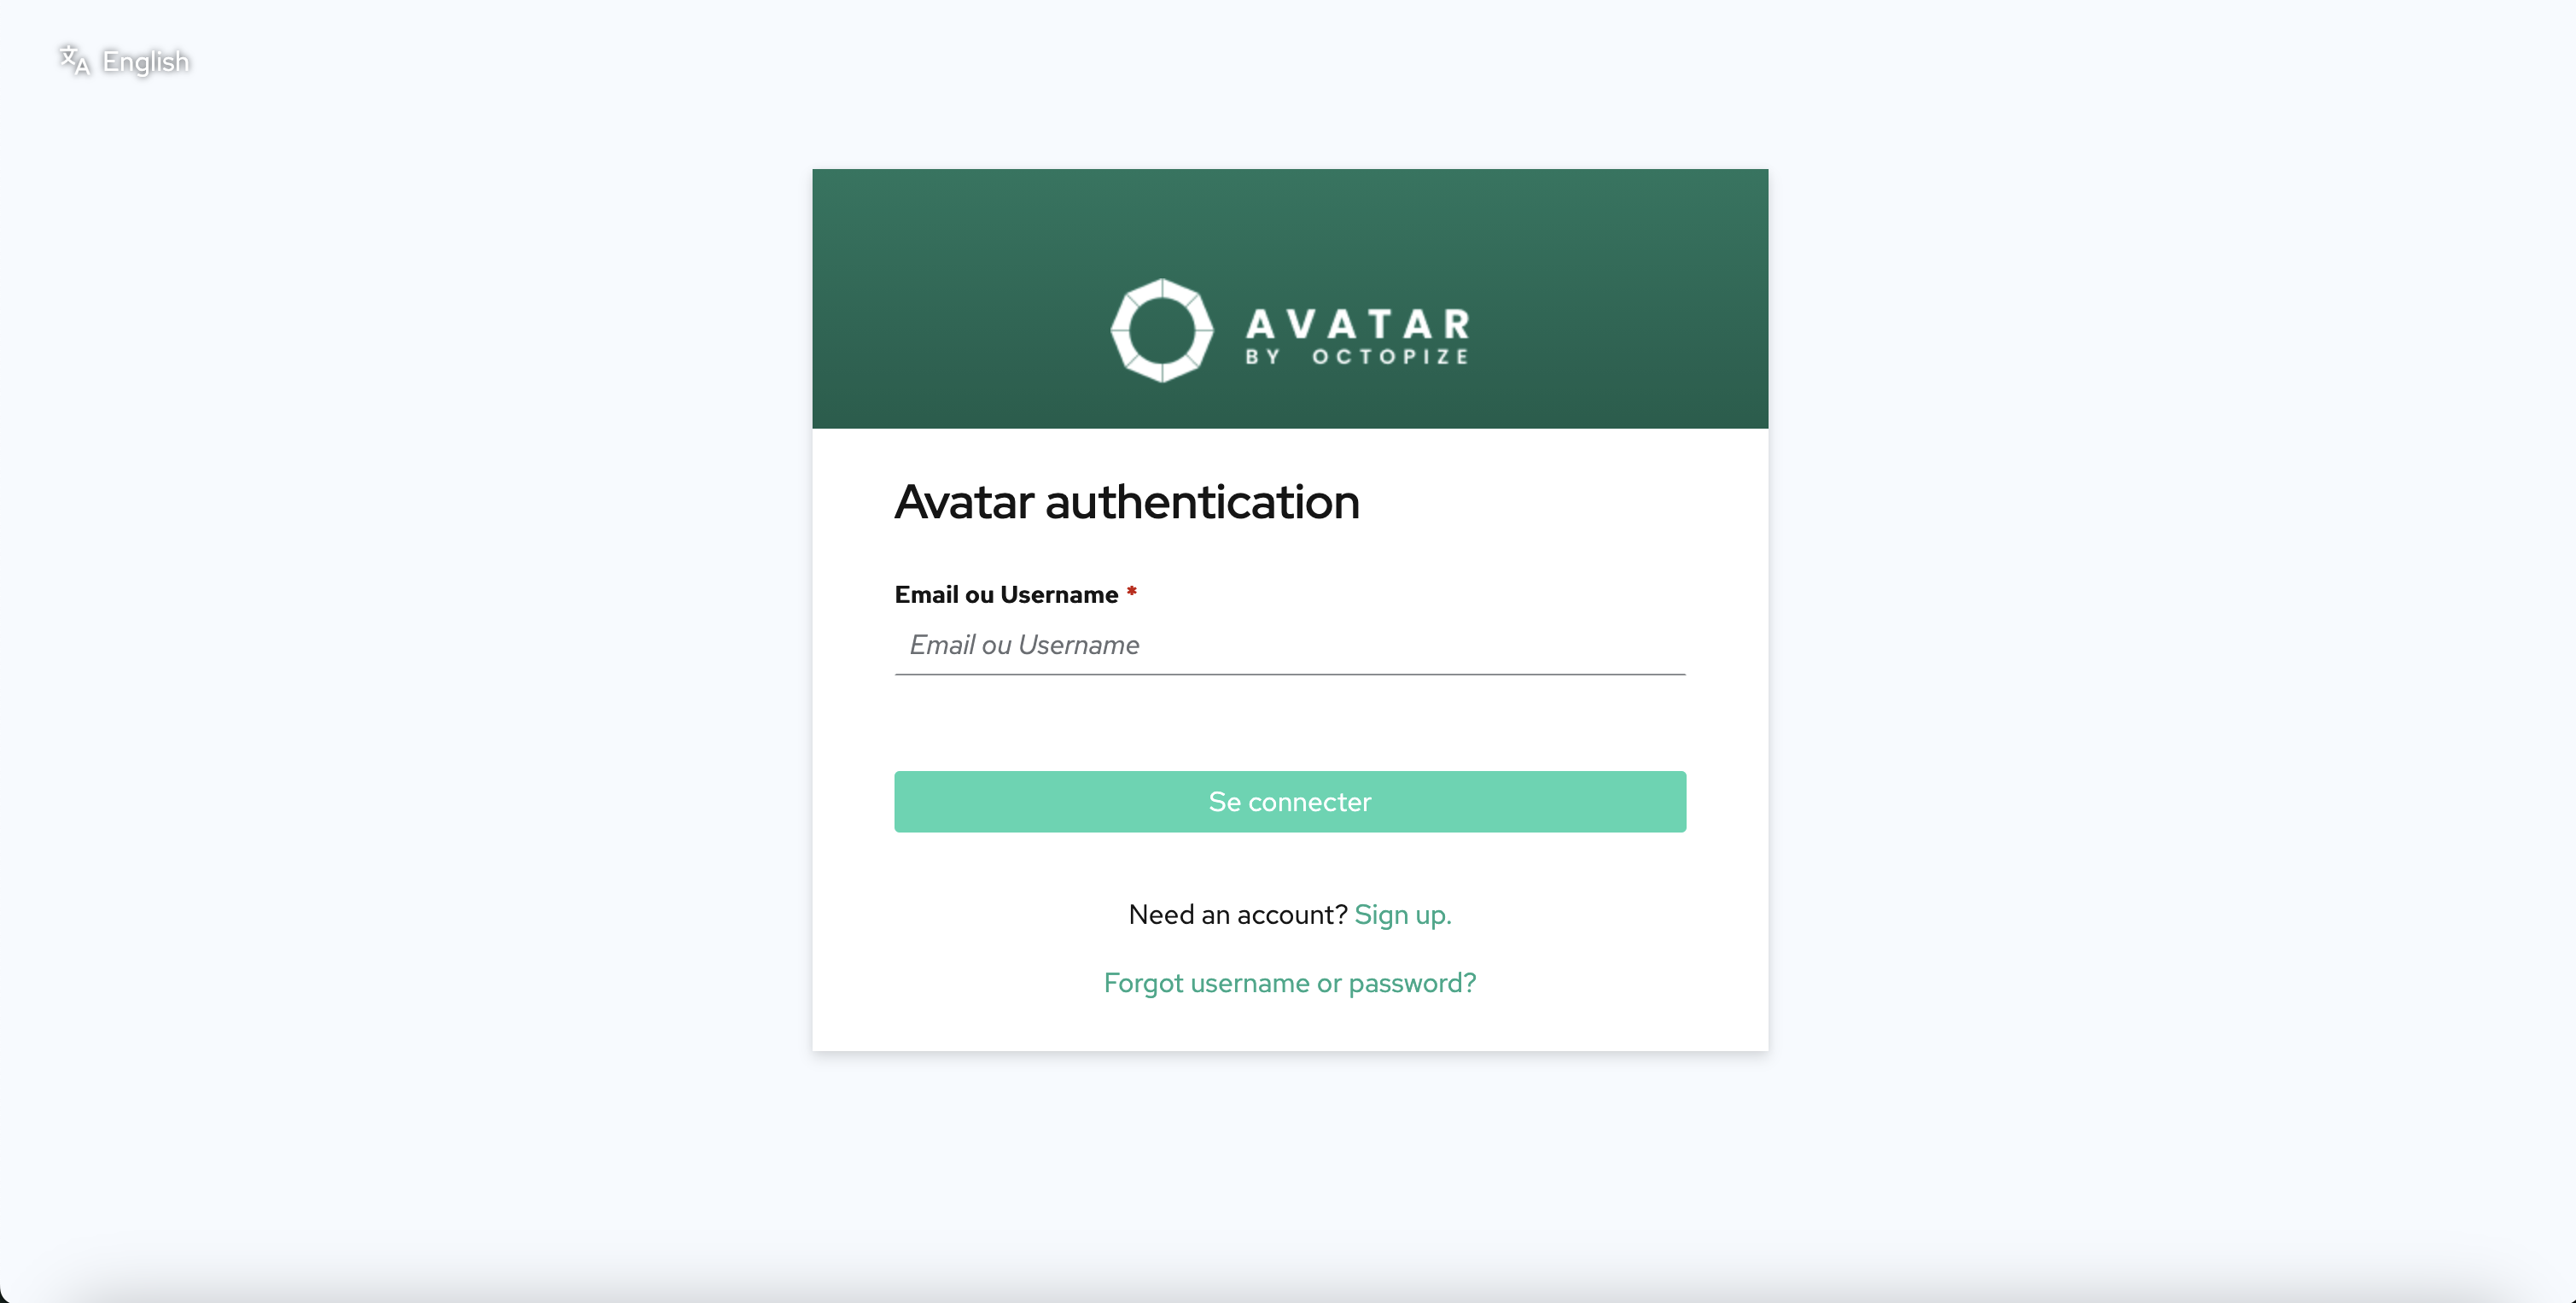
Navigate to the Octopize web portal and enter your credentials to authenticate. After logging in, you will be redirected to the dashboard.
Step 2 - Upload your data
- Click on the "Create a Job" button to begin.
- You can then choose from several preconfigurations based on your needs. For anonymization using the Avatar method, click on "Avatar Anonymization".
- Give your project a clear and recognizable name — this will make it easier to locate later.
- You can optionally define information about your use case context. This will help tailor the impact analysis report generated in the final step.
- On the upload page, click the "+" button under Load dataset(s) to import the datasets you wish to anonymize. For first-time users, we recommend using one of the example datasets provided.
- Once everything is configured, click "Next" to continue. An automatic data formatting step should then start.
Step 3: Set Parameters and Run Avatarization
Once uploaded you will have an overview of your tables.
For each table:
- Select the variables to include, remove, or freeze in the anonymization and verify their data types are correct.
- In multi-table setups, specify which variables act as identifiers — primary keys or foreign keys — to maintain relational integrity.
- Mark variables likely to be known by a potential attacker and adjust their influence in the projection space accordingly.
- Once everything is set, click "Next" to proceed to the parameters configuration. If you're working with a single table, you'll proceed directly to the next step. Otherwise, you'll need to define the relationships between your tables before continuing.
- An automatic parameter preconfiguration step should start.
- Depending on your use case, you can configure the parameters for:
- Anonymization
- Augmentation
- Privacy metrics
- Once you're done with the configuration, click "Next".
💡 Tip: Enable expert mode to access a wider range of advanced parameters.
Step 4: Retrieve Results and Avatarized Data
You're almost there!
- You can download the YAML configuration file as well as the Python script corresponding to the parameters you just defined — perfect for reproducibility or future automation.
- Click "Run Now" to launch the selected jobs: anonymization, privacy metrics calculation, utility metrics calculation, and report generation.
- Once finished, click on "Metric Details" to access the results page.
- From this page, you will be able to:
- View privacy and utility scores,
- Download the generated avatars,
- Visualize statistical comparisons between your original data and the created synthetic data,
- Retrieve the complete anonymization reports (technical + impact analysis) for your documentation or compliance needs.
💡 Tip: Enable expert mode to access all advanced results.
📚 Want to go further?
Download our complete suite of tutorials for the Python client — featuring advanced capabilities and various use cases, from multi-table anonymization to time series and beyond.